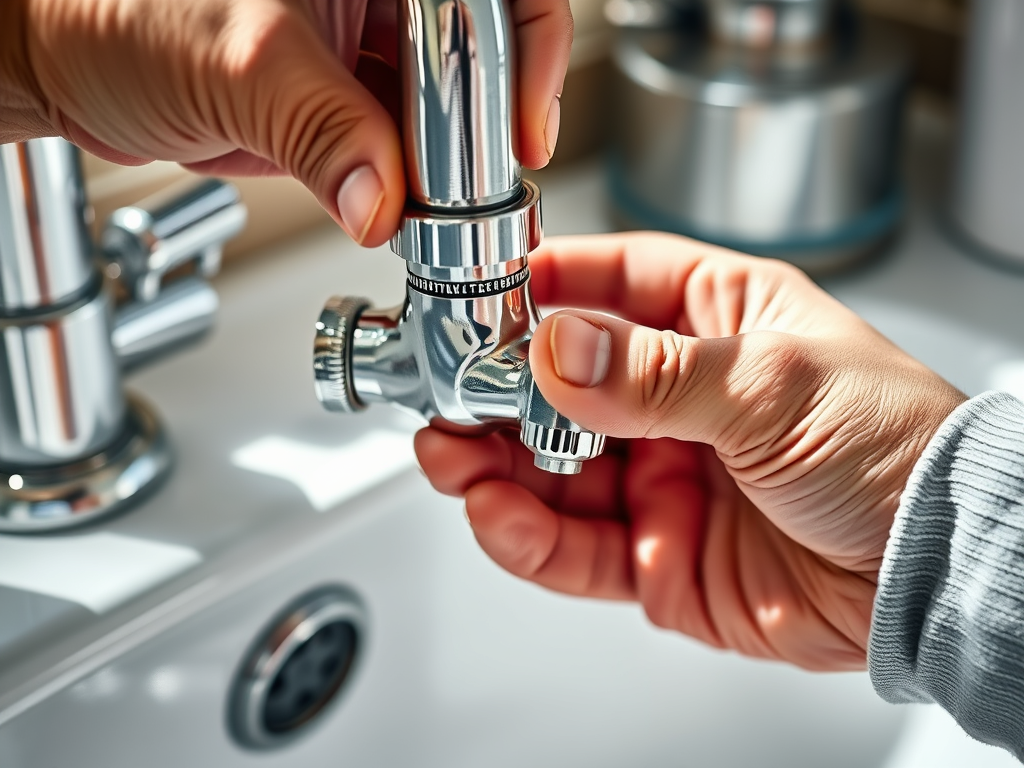
A leaky faucet can be both annoying and wasteful, dripping away precious water and increasing your utility bill. Fortunately, fixing a faucet is often a simple DIY project that requires minimal tools and time. Follow this step-by-step guide to stop that drip and restore your faucet to perfect working condition.
Save money and add value—learn home improvement hacks today.
How to Fix a Leaky Faucet: A Step-by-Step Guide
Learn how to fix a leaky faucet, step by step.
Common Causes of a Leaky Faucet
Before diving into the repair, understanding what causes a faucet to leak can help you troubleshoot effectively:
- Worn-Out Washers or O-Rings: Over time, these components degrade and can no longer create a watertight seal.
- Loose Parts: Frequent use can loosen screws or bolts inside the faucet.
- Corroded Valve Seat: The valve seat, which connects the faucet to the spout, may corrode and cause leaks.
- High Water Pressure: Excessive pressure can lead to leaks even when the faucet is off.
Tools and Materials You’ll Need
- Adjustable wrench or basin wrench
- Screwdriver (flathead and Phillips)
- Replacement washers, O-rings, or cartridges
- Plumber’s tape
- Pliers
- Cleaning cloths
- Bucket or bowl
Step-by-Step Instructions to Fix a Leaky Faucet
1. Turn Off the Water Supply
Before starting any repair, shut off the water supply to the faucet:
- Locate the shut-off valves under the sink and turn them clockwise.
- Open the faucet to drain any remaining water and relieve pressure.
2. Plug the Drain
To avoid losing small parts, cover the drain with a stopper or cloth.
3. Identify the Faucet Type
Determine the type of faucet you’re dealing with:
- Compression Faucet: Has separate handles for hot and cold water.
- Ball Faucet: Uses a ball bearing and is commonly found in kitchens.
- Cartridge Faucet: Contains a cartridge to control water flow.
- Ceramic Disk Faucet: Uses a ceramic cylinder for water control.
Knowing the type will help you find the right replacement parts.
4. Disassemble the Faucet
Carefully take apart the faucet to access the problem area:
- Remove decorative caps or coverings on the handles (if present) using a flathead screwdriver.
- Use a screwdriver to unscrew the handles and remove them.
- If it’s a compression faucet, loosen the packing nut with a wrench to reveal the stem.
- For ball, cartridge, or disk faucets, follow the manufacturer’s instructions to access the cartridge or ball mechanism.
5. Inspect and Replace Faulty Parts
Examine the internal components to identify the source of the leak:
- Washers and O-Rings: If worn or cracked, replace them with identical new ones.
- Cartridge or Ball Assembly: Replace these if they appear damaged or degraded.
- Valve Seat: Clean or replace if corroded.
Take the faulty part to a hardware store to ensure you purchase the correct replacement.
6. Reassemble the Faucet
Once the damaged parts are replaced:
- Reinsert the new parts, ensuring everything is aligned correctly.
- Tighten the packing nut, screws, or any other fasteners securely.
- Reattach the handles and decorative caps.
7. Turn the Water Supply Back On
Slowly open the shut-off valves and test the faucet:
- Check for leaks by turning the faucet on and off multiple times.
- If leaks persist, ensure all connections are tight and properly sealed.
Tips for Preventing Future Leaks
- Avoid Over-Tightening: Excessive force can damage washers and seals.
- Regular Maintenance: Inspect and clean your faucet components periodically.
- Install a Water Softener: Hard water can lead to mineral buildup and corrosion.
- Monitor Water Pressure: Keep your water pressure within recommended limits.
When to Call a Professional
If the faucet continues to leak after replacing parts or if you notice issues with your home’s plumbing system, it may be time to contact a licensed plumber.
Conclusion
Fixing a leaky faucet is a straightforward task that can save you money on water bills and prevent further plumbing issues. By following these steps, you’ll restore your faucet to optimal performance in no time.
Ready to repair your leaky faucet? Use this guide to get started and enjoy a drip-free home today!
Transform any room easily—start your DIY adventure today!
Leave a Reply